First bedroom renovation
The first bedroom in our basement I renovated
2016-06-21
This actually took place last year but I'm just now getting around to writing about it. When we bought our home, we recognized that the basement would need some work done on it to fix some mistakes as well as poorly done work. The biggest problem was the walls. The texture on the walls varied from bad to, "did they just roll mud on the wall here?" To give you an idea of what that looked like take a look at this texture from one of the rooms in our basement.

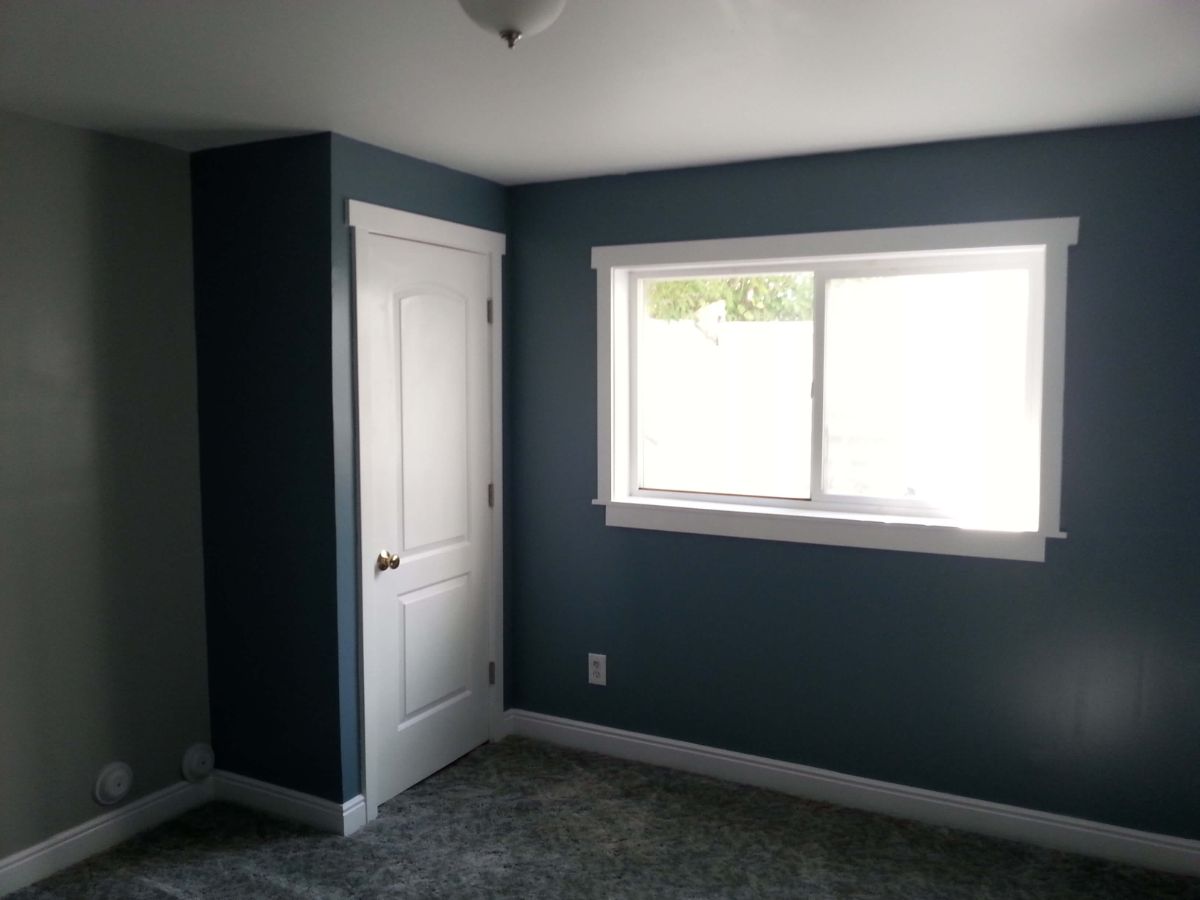
There were also places where the drywall tape was clearly visible. All this had to be redone. For this room, I don't have any progress pictures so I'll do my best to describe what I had to do. First I had to sand down all of the walls to remove the texture. Then I skim coated the wall with drywall mud. This process involved using a paint roller to roll the mud onto the wall and then smooth it out using a tool that looks just like a squeegee. This flattens out the mud and leaves a fairly smooth, flat wall. I did 2 coats of mud. I also replaced the window box because the old one was made from some very knotty wood and the grain was popping up all over. I replaced all of the trim and baseboard as well as hung a new door on the closet. Painted it and it turned out great.
Before

After


